Fragment
Fragment는 영어로 해석하면 조각이라는 뜻을 가지고 있다.
조각이라는 개념을 써서 한 액티비티에서 조각들을 바꿔입는 개념으로 이해하면 될 것이다.
예제를 보면 먼저 메인 액티비티에서 기본적으로 레이아웃을 설정해준다
<?xml version="1.0" encoding="utf-8"?>
<RelativeLayout xmlns:android="http://schemas.android.com/apk/res/android"
xmlns:app="http://schemas.android.com/apk/res-auto"
xmlns:tools="http://schemas.android.com/tools"
android:layout_width="match_parent"
android:layout_height="match_parent"
tools:context=".MainActivity">
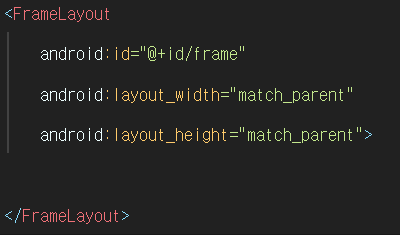
<FrameLayout
android:id="@+id/frame"
android:layout_width="match_parent"
android:layout_height="match_parent">
</FrameLayout>
<LinearLayout
android:layout_width="match_parent"
android:layout_height="50dp"
android:layout_alignParentBottom="true">
<Button
android:layout_width="wrap_content"
android:layout_height="wrap_content"
android:layout_weight="1"
android:text="메뉴1"
android:id="@+id/btn_1"/>
<Button
android:layout_width="wrap_content"
android:layout_height="wrap_content"
android:layout_weight="1"
android:text="메뉴2"
android:id="@+id/btn_2"/>
<Button
android:layout_width="wrap_content"
android:layout_height="wrap_content"
android:layout_weight="1"
android:text="메뉴3"
android:id="@+id/btn_3"/>
<Button
android:layout_width="wrap_content"
android:layout_height="wrap_content"
android:layout_weight="1"
android:text="메뉴4"
android:id="@+id/btn_4"/>
</LinearLayout>
</RelativeLayout>
이와 같이 메뉴 버튼 4개를 만들어 주고 Fragment를 써야 할 때는 FrameLayout으로 조각들을 교체해주는 레이아웃을 설정해 줘야 합니다.
그 다음 fragment1이라는 xml을 만들어 주어 조각들을 교체해줄 레이아웃을 설정합니다.
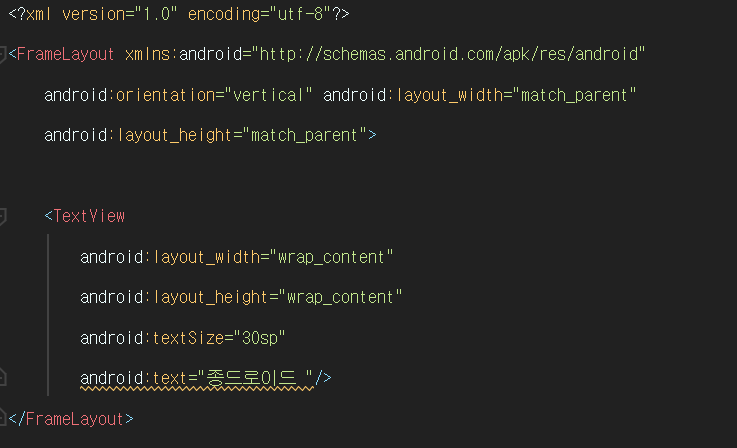
<FrameLayout>을 부모로 두고 간단하게 보여줄 TextView를 설정해 준다.
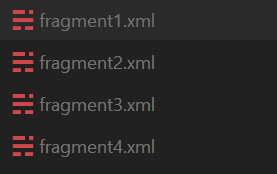
이런 식으로 복사하여 res -> layout 폴더에 붙여넣기 하여 보여줄 내용만 바꿔 줍니다.
이후 MainActivity.java에서 다음과 같이 설정해 준다.

버튼 4개의 대해 id값을 찾아 넣어주고 각각의 클릭 시 이벤트를 설정 해 준다
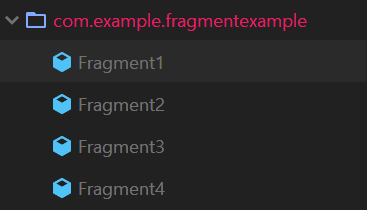
Fragment1 클래스를 만들어 줘야 하므로 자바 파일에서 Fragment1 클래스를 만들어 줍니다.

Fragment를 import하고 생성자를 만들어 주고 ctrl + o를 눌러 onCreateView를 클릭해 줍니다.
onCreateView는 메인 액티비티에 있는 onCreate와 똑같은 생명주기 이다. 차이점으로는 메인 액티비티에서 실행될 때와 Fragment를 실행할 때이다.
마찬가지로 자바 파일에 복사 붙여넣기 해 줍니다
이후 각 버튼에 대해 객체를 인스턴스화 해주어 설정해주면 됩니다.
package com.example.fragmentexample;
import androidx.appcompat.app.AppCompatActivity;
import androidx.fragment.app.FragmentTransaction;
import android.os.Bundle;
import android.view.View;
import android.widget.Button;
public class MainActivity extends AppCompatActivity {
Button btn1,btn2,btn3,btn4;
@Override
protected void onCreate(Bundle savedInstanceState) {
super.onCreate(savedInstanceState);
setContentView(R.layout.activity_main);
btn1 = (Button)findViewById(R.id.btn_1);
btn2 = (Button)findViewById(R.id.btn_2);
btn3 = (Button)findViewById(R.id.btn_3);
btn4 = (Button)findViewById(R.id.btn_4);
btn1.setOnClickListener(new View.OnClickListener() {
@Override
public void onClick(View v) {
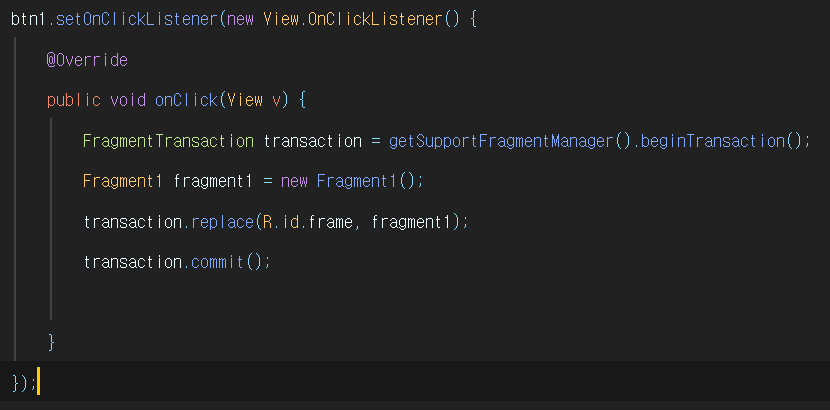
FragmentTransaction transaction = getSupportFragmentManager().beginTransaction();
Fragment1 fragment1 = new Fragment1(); //객체 인스턴스
transaction.replace(R.id.frame, fragment1); // 조각을 fragment1로 교체
transaction.commit(); // 저장
}
});
btn2.setOnClickListener(new View.OnClickListener() {
@Override
public void onClick(View v) {
FragmentTransaction transaction = getSupportFragmentManager().beginTransaction();
Fragment2 fragment2 = new Fragment2(); // 객체 인스턴스
transaction.replace(R.id.frame, fragment2); // 조각을 fragment2로 교체
transaction.commit(); // 저장
}
});
btn3.setOnClickListener(new View.OnClickListener() {
@Override
public void onClick(View v) {
FragmentTransaction transaction = getSupportFragmentManager().beginTransaction();
Fragment3 fragment3 = new Fragment3(); // 객체 인스턴스
transaction.replace(R.id.frame, fragment3); // 조각을 fragment3로 교체
transaction.commit(); // 저장
}
});
btn4.setOnClickListener(new View.OnClickListener() {
@Override
public void onClick(View v) {
FragmentTransaction transaction = getSupportFragmentManager().beginTransaction();
Fragment4 fragment4 = new Fragment4(); // 객체 인스턴스
transaction.replace(R.id.frame, fragment4); // 조각을 fragment4 교체
transaction.commit(); // 저장
}
});
}
}
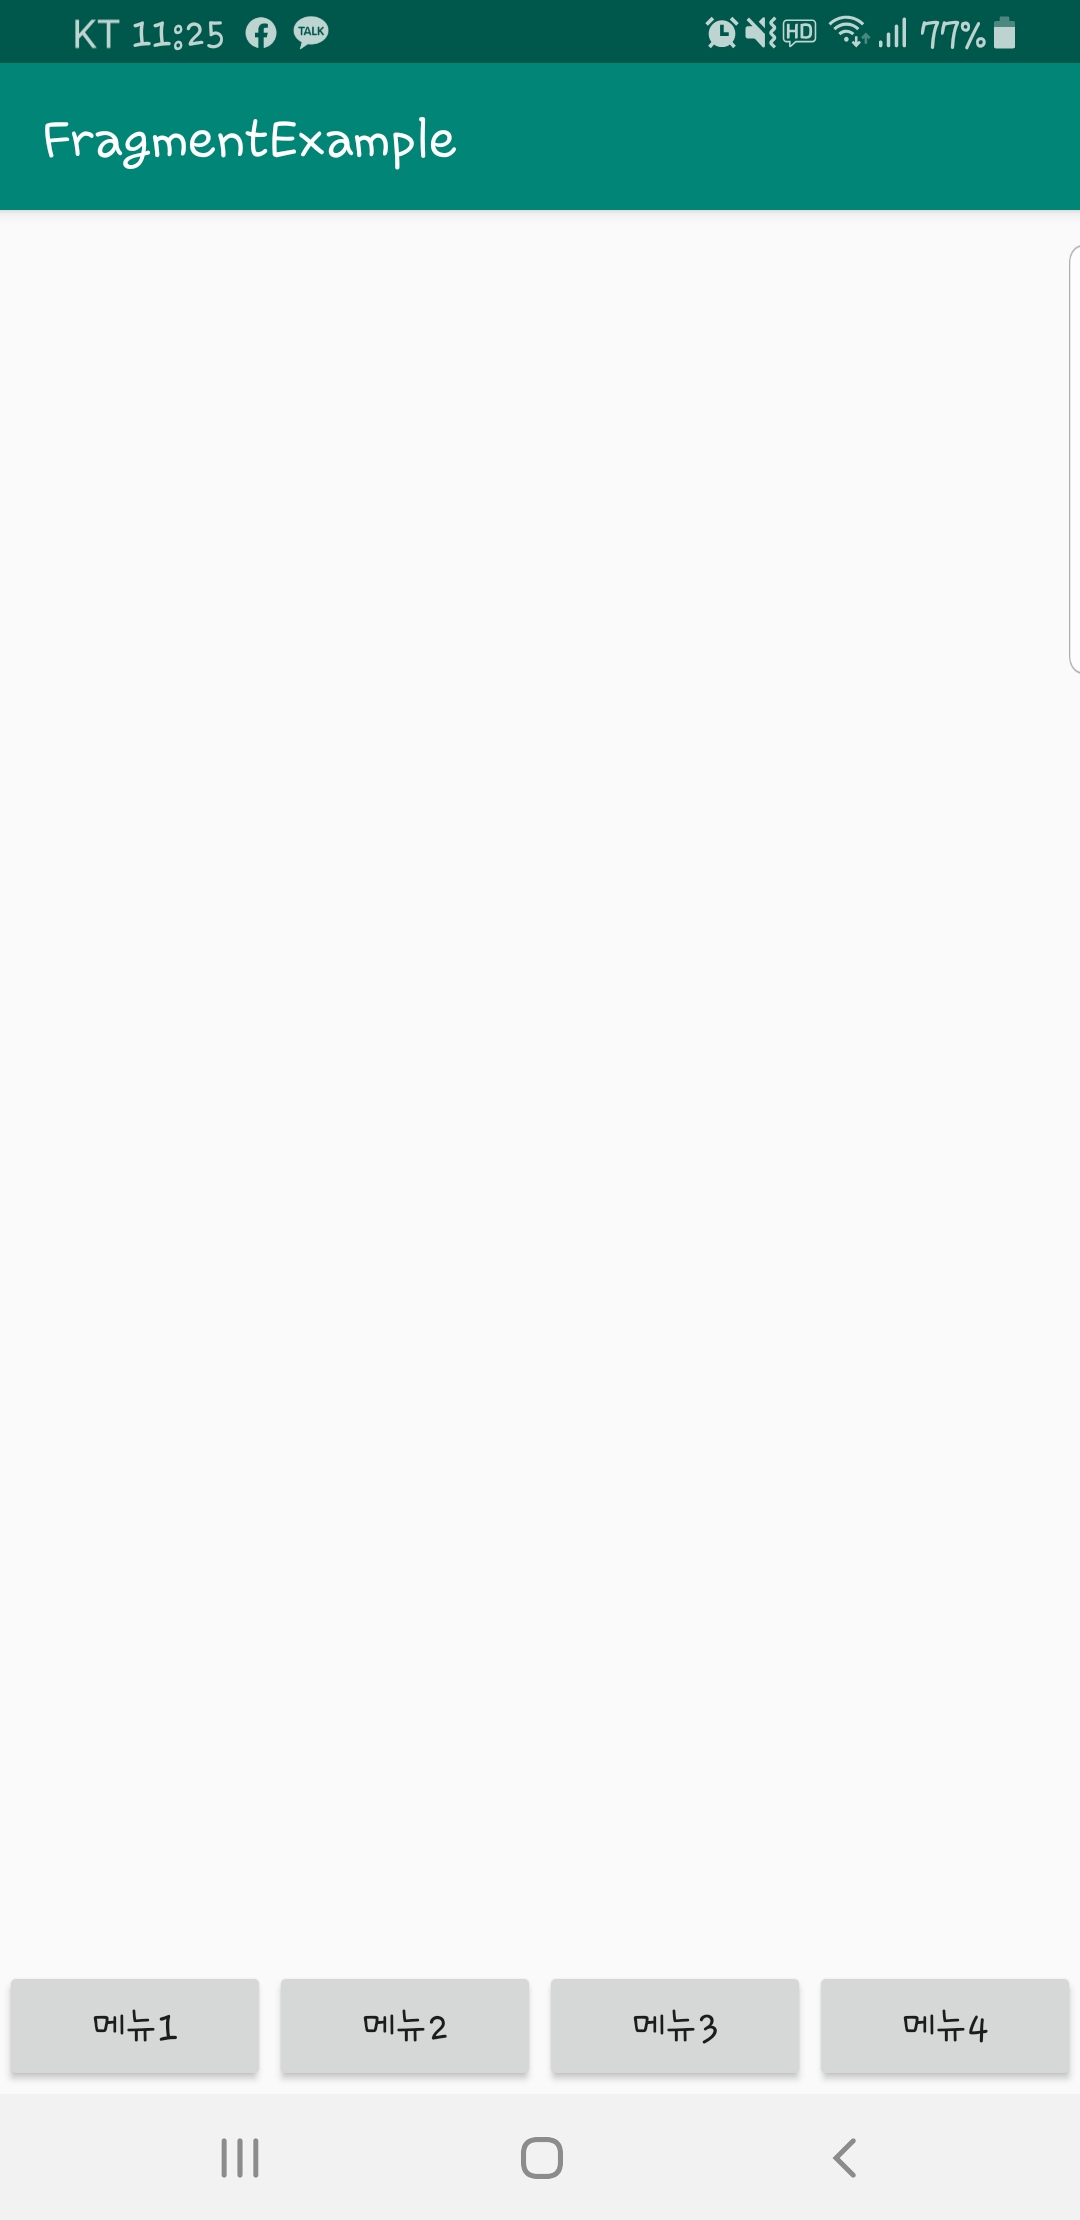
이제 실행해 주면 잘 동작하게 됩니다~
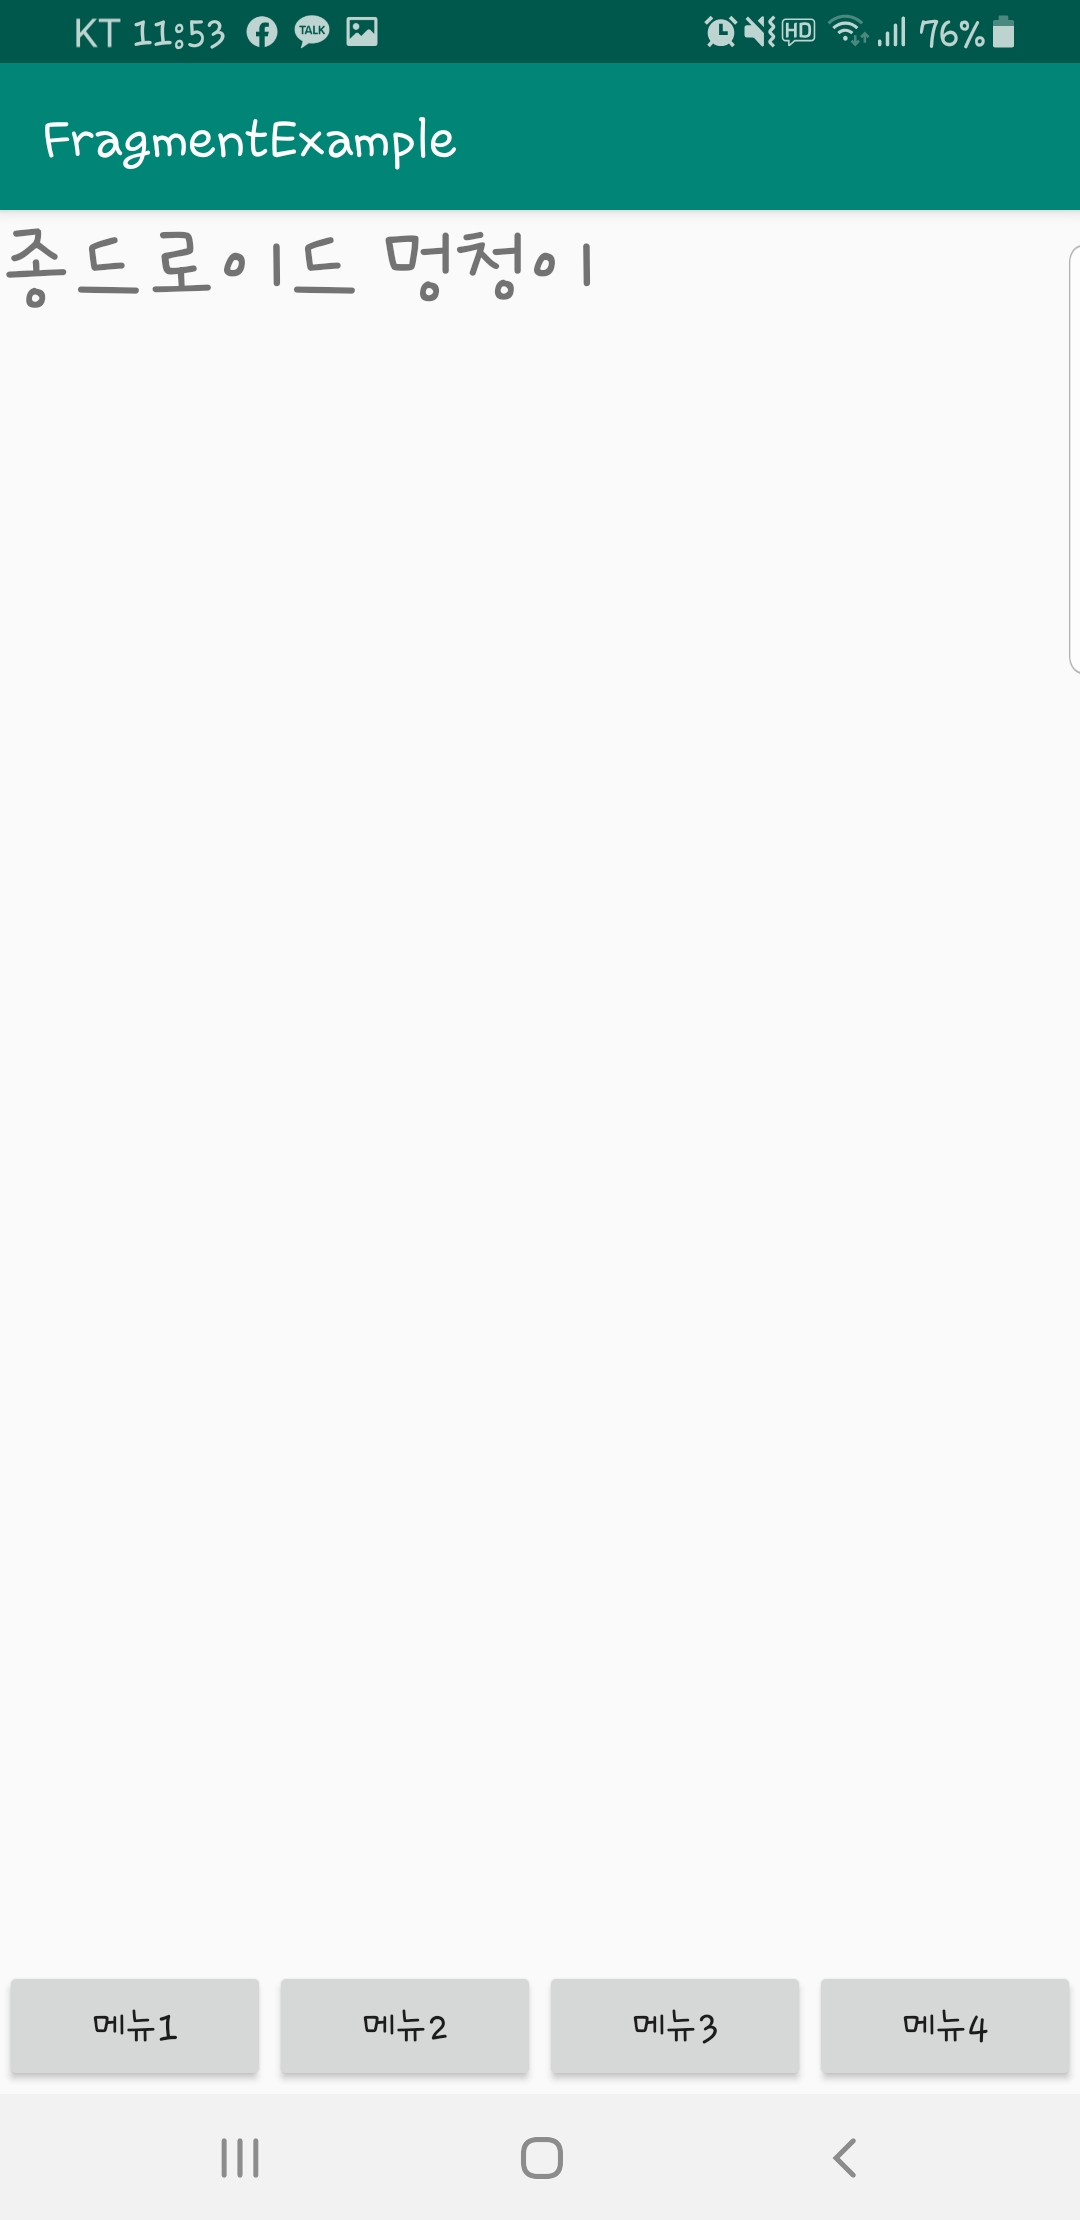
이런 식으로 메뉴 버튼을 누를 때마다 조각마다 교체되는 것을 확인할 수 있다!!